This post will show you how to make a video of a Windows Phone app. I will use Visual Studio 2013, Microsoft Expression Encoder 4, and Windows Live Movie Maker. Download links for Encoder 4 and Movie Maker can be found at the end of the post.
Here is the video I made for my app KidsArtwork
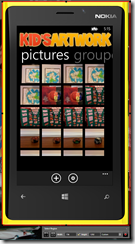
Load your app in Visual Studio, select the Emulator WXGA and run the app without debugging by hitting Ctrl+F5
Launch Microsoft Expression Encoder 4 Screen Capture and click on the settings icon.
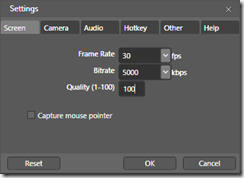
I set the frame rate to 30, the bitrate to 5000 and the quality to 100
Next click the record button. From here you can set the size of the screen capture window. I chose to include the chrome I have added to my emulator.
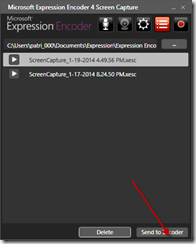
Click the record button to begin recording and the stop button to stop recording. The next step is to send the capture to the encoder. Do this by clicking the Send to Encode button
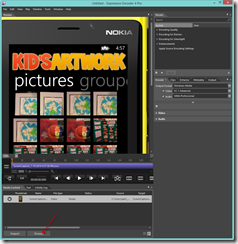
I chose Windows Media as the output format, VC-1 Advances as the video. I did not record audio so I did not check auto checkbox
I clicked encode to start the encoding process.
Once the video is encoded I used Movie Maker to do the final editing. Launch Movie Maker and load the output from Encoder. The default location of the Encoder output is My Documents > Expression > Encoder > Output. I only used two of Movie Makers features to edit my video. I added a title to the movie and some captions throughout.
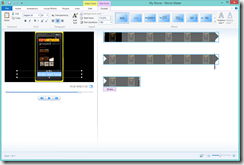
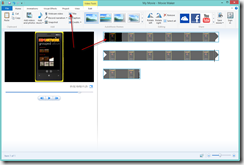
A caption is text that is displayed over your video. To add a caption play the video to the section that you want the caption to appear and press the caption button.
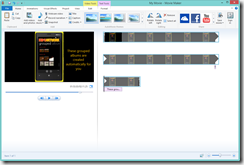
This will place the default caption on your screen.
You can edit the text and the look of the text using the Movie Maker’s text editing tool. The caption can also be moved and resized. You can control how long the caption is displayed by editing the Text duration value.
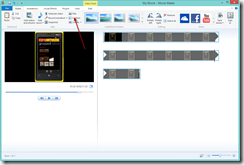
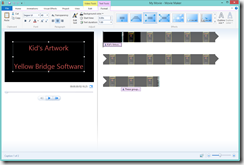
To add a title to the the beginning of the movie select the beginning of the movie (Arrow on the right) and click the Title button
You can modify the text of your title just like the caption The amount of time the title is displayed is controlled by the Text duration value.
After editing my video it was time for me to publish it. I published my movie by selecting File > Publish Movie > YouTube from the main menu.
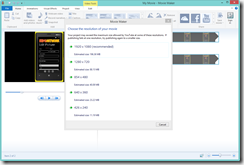
I chose the 1920 x 1080 (recommended) option. I added the music to the video after I uploaded it to YouTube. I just used one of their stock music selections.
Software used:
Visual Studio 2013 (Any version could be used)
Microsoft Expression Encoder 4 Download
Windows Live Movie Maker Download


Hi,
How did you get rid of the mouse?
Managed to do it.
do we need to install the wp8 SDK too?
I blog often and I really thank you for your information. Your article has really peaked my interest.
I’m going to bookmark your site and keep checking for new information about once
a week. I opted in for your RSS feed as well.