Axosoft Approved My Latest Project – ybSync.com

A while back I decided to create a SaaS app.  I knew that I wanted to solve a problem for a niche with my SaaS app.  I decided that I wanted to make my app an add on or integration to another application.  This would give my app a known user base that would be easy to target.  I know that many applications publicize other apps and tools that integrate with their system.  Axosoft is one of these companies, the promote tools and apps that work with their system on their Integrations and add-ons page.  I knew they had a good number of customers as I have worked with them in the past.  Years ago my company Yellow Bridge Software partnered with them when I was selling my code generator Monstarillo.  I was able to offer my customers discounts on Axosoft (Their product was called OnTime at the time) and they offered their customers a discount on Monstarillo.   I got in touch with Axosoft’s partnership team and learned that many of their customers were looking for a way to synchronize their Axosoft data with Google calendar.  I had the opportunity to solve a problem for Axosoft’s customers.  I had a known user base with a defined and verified problem.  It sounded like fun and I took up the challenge.

I decided to write a SaaS that connected to Axosoft on behalf of my users using the Axosoft API and synchronize their data with Google calendar using the Google Calendar API.

ybSync.com


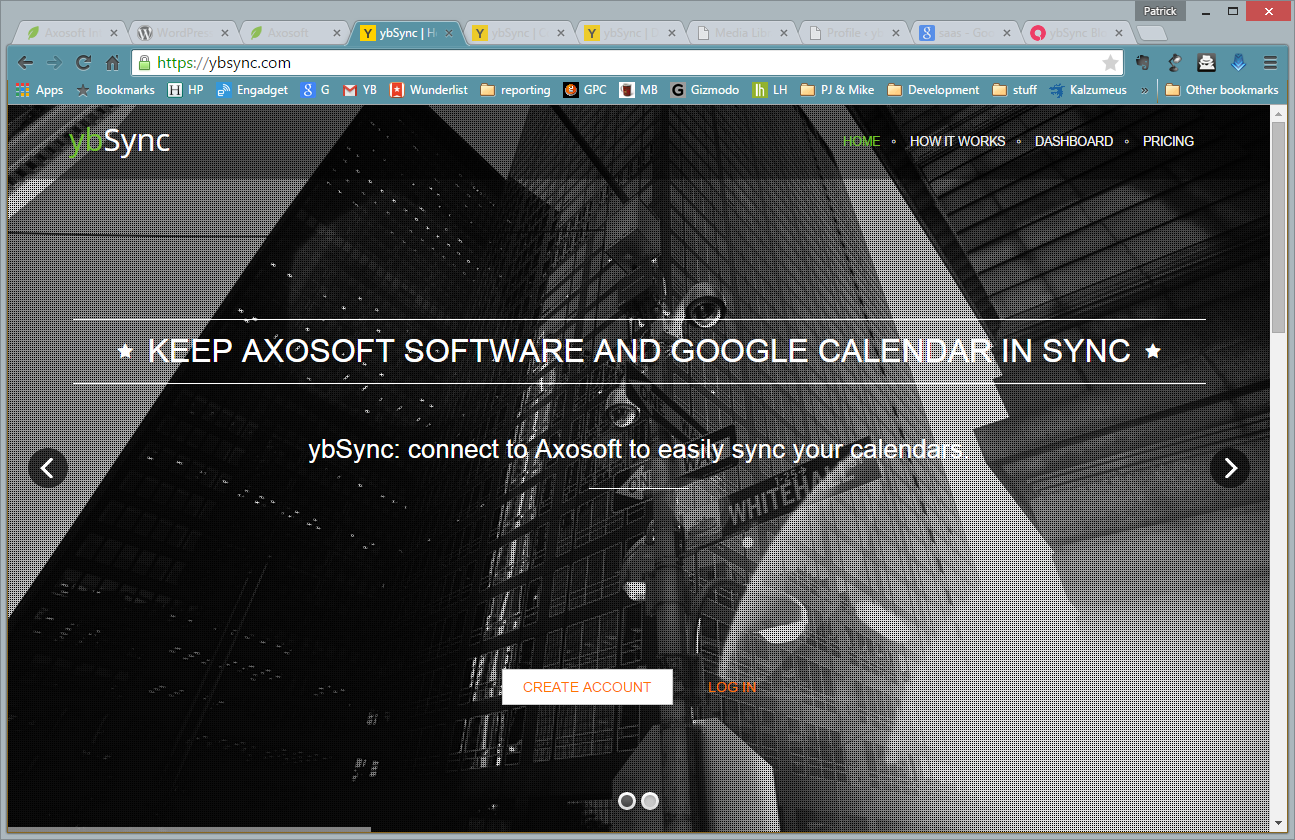
I call my new app ybSync.

I had gained a lot of experience working with Google APIs writing the engine that crawls the YouTube API for Gameplayclips.com so learning how to work with the Google Calendar API was pretty easy.  The Axosoft API is also pretty straight forward and Axosoft was very responsive when I had questions.  I completed the app and submitted it for approval a few weeks ago.  Axosoft requires all applications that use their API to be approved before they allow other customers the ability to grant my app access to their data via the Axosoft API.


You can read more about ybSync in this blog post.


On May 28 ybSync approved my app.  I look forward to a long partnership with Axosoft. 🙂

ybSync.com approved by Axosoft

I am looking forward to receiving feedback on my app so I can make it the best it can be.


Gameplay Clips and Kids Artwork Reviewed by Windows Phone Central

I am very excited to see that the wonderful folks at Windows Phone Central took time to review my two latest Windows Phone apps, Gameplay Clips and Kids Artwork.  You can read it yourself here  Wow!  What a day.

I read an article by Felipe Laso Marsetti titled How to Market and Promote your Games and Apps and decided to follow some of his advice for the release of Gameplay Clips and Kids Artwork.  One of the biggest things I did for these releases was to create press kits for each of the apps.  The press kits make it easy for a reviewer to write about your app because of the information and screen shots they contain.  The second thing I did was to write a press release and have it released by PRWeb.  My press release is scheduled to go out tomorrow morning.  The third thing I did was to create a trailer for Kids Artwork which I blogged about earlier.

You can find out more about the apps at gameplayclips.com and kidsartwork.net.

How to make a video of a Windows Phone App

This post will show you how to make a video of a Windows Phone app.  I will use Visual Studio 2013, Microsoft Expression Encoder 4, and Windows Live Movie Maker.  Download links for Encoder 4 and Movie Maker can be found at the end of the post.

Here is the video I made for my app KidsArtwork

Load your app in Visual Studio, select the Emulator WXGA and run the app without debugging by hitting Ctrl+F5

Launch Microsoft Expression Encoder 4 Screen Capture and click on the settings icon.

ExpressionEncoderPlainArrowToSettings

I set the frame rate to 30, the bitrate to 5000 and the quality to 100

EncoderSettings

Next click the record button.  From here you can set the size of the screen capture window.  I chose to include the chrome I have added to my emulator.

SelectRegion


Click the record button to begin recording and the stop button to stop recording.  The next step is to send the capture to the encoder.  Do this by clicking the Send to Encode button

EncoderSendToEncoder

I chose Windows Media as the output format, VC-1 Advances as the video.  I did not record audio so I did not check auto checkbox

EncoderSettings2

I clicked encode to start the encoding process.

EncodeTheFile


Once the video is encoded I used Movie Maker to do the final editing.  Launch Movie Maker and load the output from Encoder.  The default location of the Encoder output is My Documents > Expression > Encoder > Output.  I only used two of Movie Makers features to edit my video.  I added a title to the movie and some captions throughout.


A caption is text that is displayed over your video.  To add a caption play the video to the section that you want the caption to appear and press the caption button.

MovieMakerBeforeCaption

This will place the default caption on your screen.

MovieMakerCaption1

You can edit the text and the look of the text using the Movie Maker’s text editing tool.  The caption can also be moved and resized.  You can control how long the caption is displayed by editing the Text duration value.

MovieMakerCaptionFinal

To add a title to the the beginning of the movie select the beginning of the movie (Arrow on the right) and click the Title button

MovieMakerTitleButton

You can modify the text of your title just like the caption The amount of time the title is displayed is controlled by the Text duration value.

MovieMakerTitleAfter

After editing my video it was time for me to publish it.  I published my movie by selecting File > Publish Movie > YouTube from the main menu.

MovieMakerPublishMovie

I chose the 1920 x 1080 (recommended) option.  I added the music to the video after I uploaded it to YouTube.  I just used one of their stock music selections.

Software used:

Visual Studio 2013 (Any version could be used)

Microsoft Expression Encoder 4 Download

Windows Live Movie Maker Download

Weird error [htmlfile: Unknown runtime error]

I was creating a very simple page to play around with the Update Panel when I came across a weird error.

The page uses an Asynchronous post back trigger on an update panel to control the updating of the panel. Seems simple enough but I ran into trouble. The code I tried to run is below.

When I ran the code above I received a weird error from Visual Studio.

WeirdHtmlError

I did some digging and found the offending code to be the paragraph tags “<p>” and “</p>” inside the ContentTemplate tags. Removing the paragraph tags allowed me to run the code without error and continue to play!


Radeon HD 5870 install on Windows 7 64bit

I bought myself a new monitor and new new video card to push it.  This monitor will join my two 24 inch Sansungs on my main machine.  I planned to use the new video card to push the new HP monitor and use an old 9800 GT to push the two Samsungs.  I was a little worried about mixing the ATI card with the Nvidia card but a little research on the internet put me at ease.  I read that Vista cannot use two video drivers but Windows 7 can…  My card arrived I downloaded the latest drivers and tried to install them.  The installation program did not work!! I ran it a number of times with the same result,  the installation would just stop.  No error, it would just stop.  I was sick!   I checked the event log and found this.

RaedonHD5870Install

Not much help.  I did some digging on the internet and found a post on forums.amd.com that helped.  I found out that because I am running a 64 bit OS I need to install the drivers from the command line.

ATISetup.exe –Install –output screen

The command line installation did the trick!  Why did ATI do this?  If they are going to release an installation program that does not work on a 64 bit OS some instructions in the box would be good.